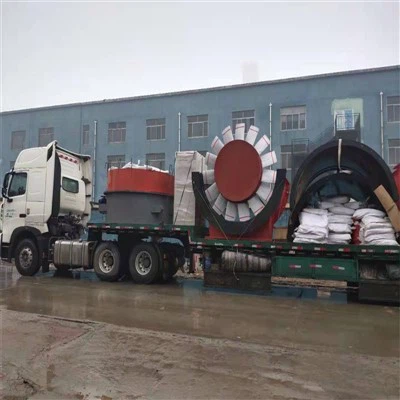
Hey there! As a supplier of Grain Conveying Fans, I know how important it is to keep these machines in top - notch condition. A clean grain conveying fan not only operates more efficiently but also has a longer lifespan. So, let's dive into how you can clean a grain conveying fan like a pro.


Step 1: Safety First
Before you start cleaning, make sure the fan is completely turned off and unplugged. This might seem obvious, but you'd be surprised how many accidents happen because people forget this simple step. Also, wear protective gear like gloves and safety glasses. Grains and dust can be irritating to your skin and eyes, so don't skip this part.
Step 2: Remove Loose Debris
Once you've ensured your safety, start by removing any loose debris from the fan. You can use a soft - bristled brush or a vacuum cleaner with a brush attachment. Gently brush or vacuum the exterior of the fan, including the housing and the blades. Pay special attention to the corners and crevices where dust and grains tend to accumulate.
Step 3: Disassemble the Fan (if possible)
Some grain conveying fans can be disassembled for a more thorough cleaning. Check your fan's manual to see if this is an option. If it is, carefully take apart the fan. Usually, you'll need to remove the housing to access the blades and the motor. Keep track of all the parts and screws, and lay them out in an organized way so you can put the fan back together easily later.
Step 4: Clean the Blades
The blades are the heart of the fan, and they can get really dirty. You can soak the blades in a mild detergent solution if they're removable. Let them soak for about 15 - 20 minutes to loosen the stubborn dirt. Then, use a soft brush to gently scrub the blades. Make sure to clean both sides of the blades thoroughly. If the blades aren't removable, you can still clean them with a damp cloth and a little bit of detergent. Just be careful not to get the motor wet.
Step 5: Clean the Motor and Housing
The motor and housing also need some attention. Use a dry cloth to wipe down the motor. Avoid using water directly on the motor as it can cause damage. For the housing, you can use a mixture of water and mild detergent. Wipe the housing clean, removing any dirt or grime. If there are any stubborn stains, you can use a non - abrasive cleaner.
Step 6: Reassemble the Fan
After all the parts are clean and dry, it's time to put the fan back together. Refer to the manual or the way you laid out the parts earlier. Make sure all the parts are properly aligned and tightened. Double - check that all the screws are in place.
Step 7: Test the Fan
Once the fan is reassembled, plug it in and turn it on for a quick test. Listen for any unusual noises or vibrations. If everything sounds and looks good, your fan is ready to go back to work.
Now, I know cleaning a grain conveying fan can be a bit of a hassle, but it's really worth it in the long run. And if you're in the market for a new fan, we've got some great options. Check out our Building Fire Smoke Exhaust Fan, 22 kW Industrial Turbo Blower – Low Noise, and Mining Machine 5 Fan.
If you're interested in purchasing any of our fans or have questions about cleaning or maintenance, don't hesitate to reach out. We're here to help you find the best solution for your needs. Whether you're a small - scale farmer or a large - scale industrial operation, we've got the right fan for you.
References
- General knowledge on fan maintenance and cleaning from industry experience.
- Fan user manuals for specific cleaning instructions and safety guidelines.