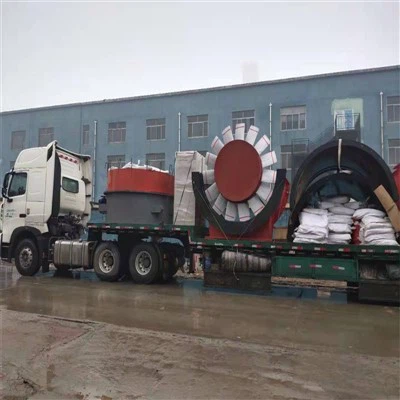
Hey there! I'm a supplier of Withdraw Axial Fans, and today I'm gonna walk you through the process of installing a withdraw axial fan in a ventilation system. Whether you're a DIY enthusiast or a professional in the field, this guide will give you the lowdown on getting the job done right.
Why Choose a Withdraw Axial Fan?
Before we dive into the installation process, let's quickly talk about why a withdraw axial fan might be a great choice for your ventilation system. These fans are known for their high efficiency and flexibility. They can be easily removed for maintenance or replacement, which is super handy, especially in industrial settings where downtime needs to be minimized. Plus, they're designed to move a large volume of air, making them ideal for keeping spaces well - ventilated.
Tools and Materials You'll Need
First things first, gather all the necessary tools and materials. Here's a list to get you started:
- Tools:
- Screwdriver set (both flat - head and Phillips)
- Wrench set
- Drill with appropriate bits
- Measuring tape
- Level
- Electrical tester
- Materials:
- Withdraw axial fan
- Mounting brackets
- Screws and bolts
- Electrical wiring and connectors
- Ductwork (if required)
Step 1: Plan Your Installation
The key to a successful installation is proper planning. Start by deciding where you want to install the fan. Consider factors like the layout of the ventilation system, the location of power sources, and the accessibility for future maintenance.
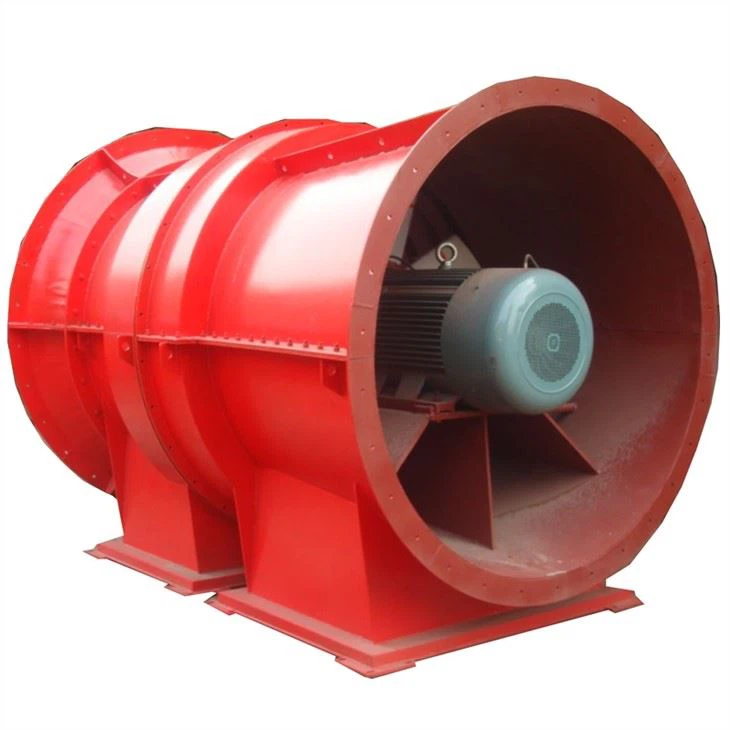

Measure the space where the fan will be installed. Make sure it's large enough to accommodate the fan and that there's enough clearance around it for air to flow freely. Use a level to ensure that the mounting surface is flat and even.
Step 2: Prepare the Mounting Surface
Once you've chosen the location, it's time to prepare the mounting surface. If you're installing the fan on a wall, use a stud finder to locate the studs. Mounting the fan on a stud will provide a more secure and stable installation.
If you're mounting the fan on a ceiling, make sure the ceiling structure can support the weight of the fan. You may need to reinforce the ceiling joists if necessary.
Step 3: Install the Mounting Brackets
Now it's time to install the mounting brackets. Place the brackets on the mounting surface and mark the holes for the screws. Use a drill to make the holes, and then attach the brackets using the appropriate screws and bolts. Make sure the brackets are securely fastened and level.
Step 4: Mount the Fan
Carefully lift the withdraw axial fan and place it on the mounting brackets. Align the holes in the fan with the holes in the brackets. Insert the screws and tighten them using a screwdriver or wrench. Double - check that the fan is securely mounted and level.
Step 5: Connect the Ductwork (if required)
If your ventilation system requires ductwork, now is the time to connect it to the fan. Measure and cut the ductwork to the appropriate length. Use duct tape or clamps to secure the ductwork to the fan. Make sure the connection is airtight to prevent air leaks.
Step 6: Electrical Connections
This is a crucial step, so make sure you follow all safety precautions. Before you start working on the electrical connections, turn off the power at the circuit breaker.
Use an electrical tester to verify that the power is off. Connect the electrical wiring from the fan to the power source. Make sure to use the appropriate wire gauge and connectors. Follow the manufacturer's instructions for the correct wiring configuration.
Once the wiring is connected, turn the power back on at the circuit breaker and test the fan. If the fan doesn't start, double - check the electrical connections and make sure the power is reaching the fan.
Step 7: Test the Fan
After the installation is complete, it's time to test the fan. Turn on the fan and listen for any unusual noises or vibrations. Check the airflow to make sure it's strong and consistent. If you notice any problems, turn off the fan immediately and troubleshoot the issue.
Tips for Maintenance
To keep your withdraw axial fan running smoothly, regular maintenance is essential. Here are some tips:
- Clean the Fan Regularly: Dust and debris can accumulate on the fan blades, reducing its efficiency. Use a soft brush or cloth to clean the blades and the housing.
- Check the Belts and Bearings: If your fan has belts or bearings, check them regularly for wear and tear. Replace them if necessary.
- Inspect the Electrical Connections: Over time, the electrical connections can loosen. Periodically check the connections and tighten them if needed.
Related Products
If you're in the mining industry, you might also be interested in our other ventilation products. Check out our Counter Rotating Mining Fan, Mine Ventilation Blower, and Exhaust Fan for Mining. These products are designed to meet the specific ventilation needs of mining operations.
Contact Us for Purchasing
If you're interested in purchasing a withdraw axial fan or any of our other ventilation products, don't hesitate to reach out. We're here to answer any questions you might have and help you find the right solution for your ventilation needs. Whether you're a small business or a large industrial operation, we've got the products and expertise to support you.
References
- Manufacturer's installation and maintenance manuals for withdraw axial fans
- Electrical safety guidelines from relevant authorities
- Industry standards for ventilation system installation